
Are you planning to cut down a tree safely? If yes, you have to follow some steps.
These include checking if it is safe to do, gathering all equipment, estimating the fall, clearing escape route, planning & cut the notch, inserting wedges, making a felling cut, removing branches and cutting into firewood, and getting expert tree cutting help.
However, cutting down a tree is often a professional job unless you have some simple trees to cut.
This can only work if you are comfortable with Chainsaw, while some trees can fall down on their own, and a few would demand to call experts for the job.
This article discusses the ten steps to cutting down a tree. You can find the following ten steps as under:
What are the steps to cut down a tree safely in your garden?
Cutting a tree with safety elements involves the following 10 steps, which we discuss here, have a look:
1. Is it safe to cut?
The first step is to decide when you should cut the tree or not. If you are reading this post, you are looking for safety steps to cut down a tree.
You must take some safety precautions while cutting trees is a huge DIY task.
You may skip this final step if the tree has dead or broken branches. You can put down the branches and use them in your fireplace as firewood.
You can take the decision only when you properly inspect the tree and the hurdles coming your way.
These include checking the power lines, electrical boxes, building units and heavy growth. Try to estimate the fall area and then check where the trees will land.
If you find any hurdles in your way, you can move to step 10 and call the professional.
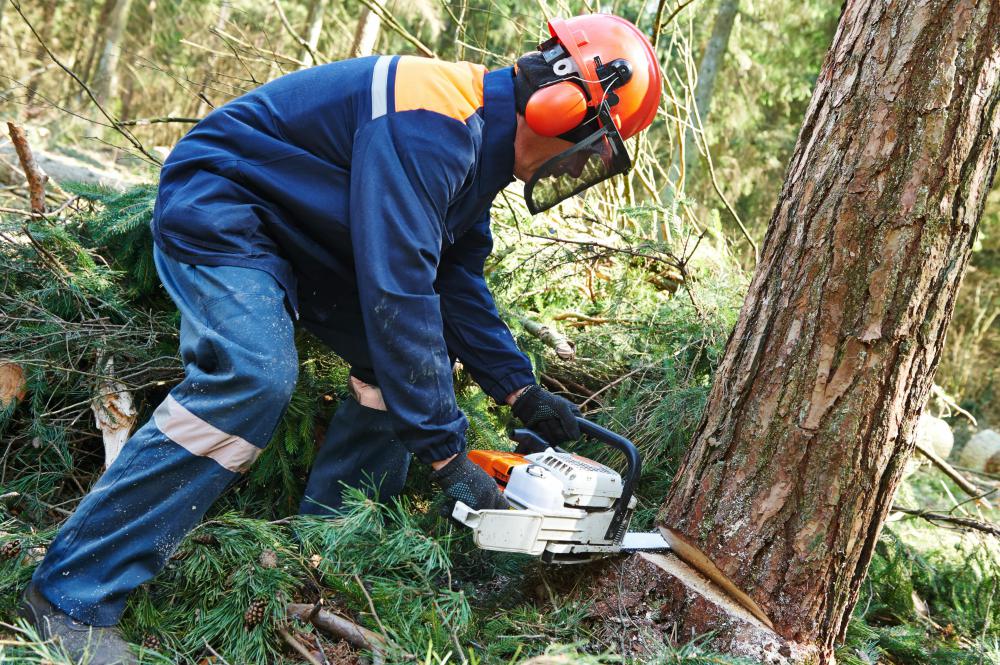
2. Gather Equipment
You need proper safety gear while you plan to cut down a tree; here’s the list:
- Safety glasses
- A hard hat
- Hearing protection
- A chainsaw
- Felling wedges
- Work gloves
So, depending upon your location where you are based, you may need a permit from the local homeowners association or check the area’s rules before you take up this task.
Also, you need someone to work as a partner for this task as a two-person team is good to take up the tree-cutting venture.
3. Estimate the fall
It is not very possible to measure any tree’s exact height and determine where it can fall.
You have to assess the tree for its uneven growth, such as overcrowded space, disease, or other factors. If you find the tree’s weight on any side, it will only fall on that side, regardless of your efforts in the opposite direction.
For a precise estimate, you need to hold an ace at the length of your arm and then estimate the tree with one close eye.
Now, start walking against the tree till you see the top and bottom of the tree are aligned to the top and bottom of your ax. Where you stand is where the top of the tree will fall.
4. Clear Escape Routes
In this step, you need to find extra time to ensure you have some safe way to retreat from the worksite. It is good to have an alternative route to ensure they remain away from the debris.
You can easily direct the path to safety if you find anything going wrong.
5. Plan the Notch
A notch is something that helps the tree to fall correctly. If you want the tree to move on the fall side, hence the tree can easily fall in the notch direction.
The fall side often remains the heaviest side of the tree. You need to cut at any comfortable working height.
If you feel that the tree stump is big enough to cut, you can think of cutting the tree’s base at a later stage.
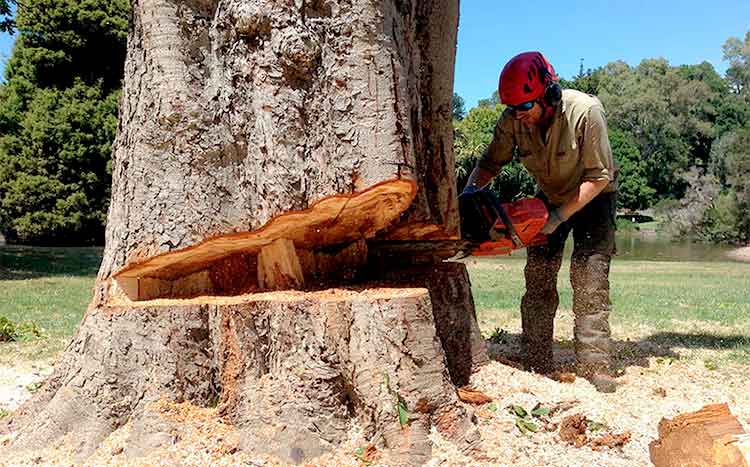
6. Cut the Notch
For the notch, you can start with the top cut by moving at around a 45-degree angle down to the floor. You can begin to cut around ⅓ of the way inside the trunk.
Related: Tree Pruning: 6 Reasons Why Winter Is Good For Pruning
Once you do that, you can make a second cut parallel to the ground. The cut should be horizontal and close to the first cut by meeting it.
7. Insert Wedges
This will depend upon the tree you are targeting to bring down, and you need wedges as these are important for this task.
If the tree’s diameter is more than 18 inches, wedges will work and help prevent you from getting pinched.
You can easily purchase at any home supply store. Once you cut the notch, you can start inserting the wedges. You can stop cutting and pound in the wedges to complete the cut.
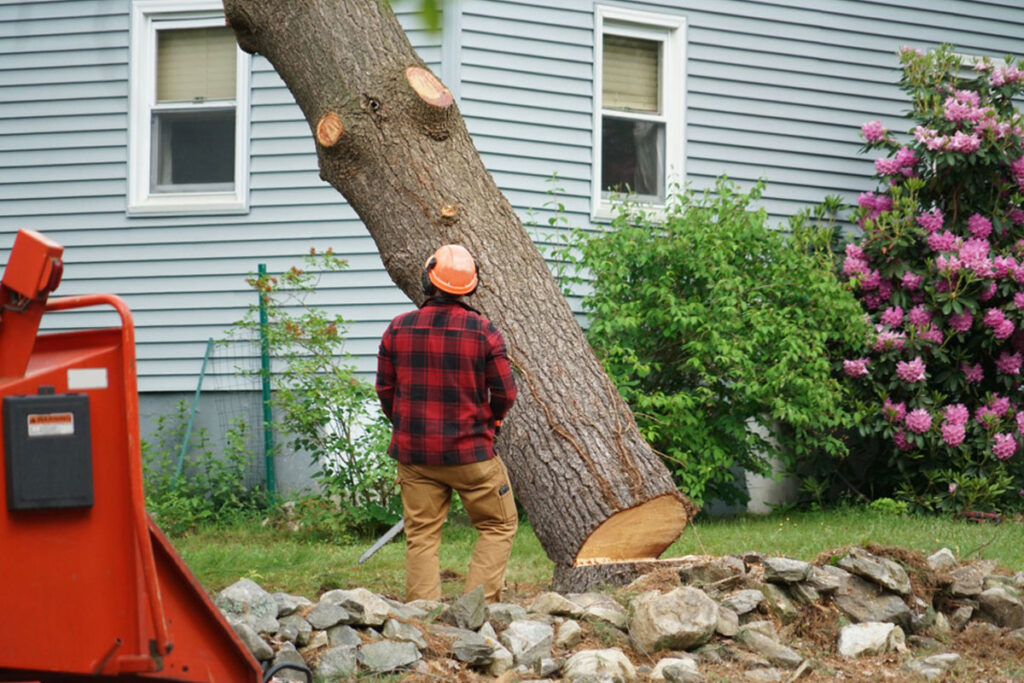
8. Make the Felling Cut
This cut is the one that plays a vital role in making the tree fall. For this, you need to move to the opposite of the chosen tree and keep away from the notch.
You move an inch or more above the chosen notch and then start even with a back cut.
You have the choice of creating a hinge to avoid cutting the way through. As you see the tree starting to move, you can stop and cut along with taking the paths to safety.
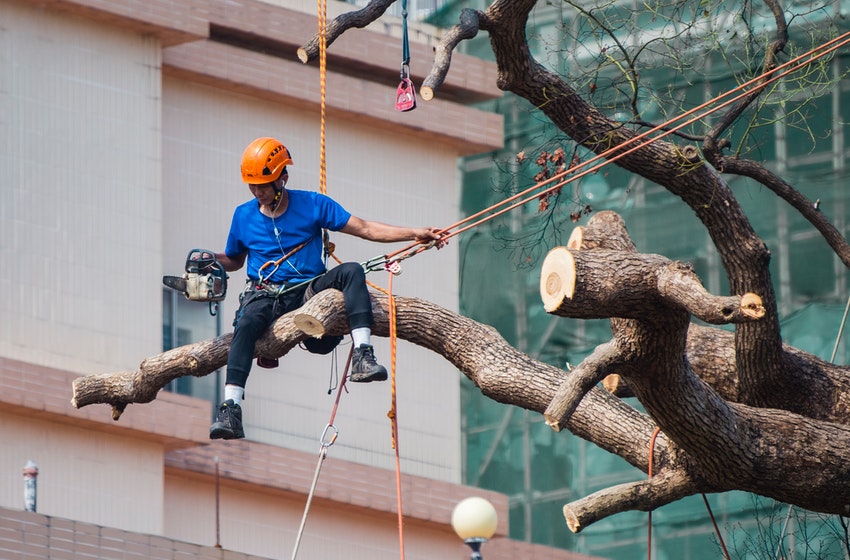
9. Remove Branches and Cut into Firewood
As you see the tree going down, the next step is known as limbing. It deals with removing the branches from the tree trunk. You then have to cut the tree into a 16-inch-based section known as bucking.
If you want to avoid touching the ground using your saw, you need to cut three quarters, complete the cut and roll the trunk.
You can cut these sections over the bust and logs and bring out the marshmallows for a bonfire. You need to keep in mind specific rules about transporting firewood.
10. Get Expert Help for Cut Down a Tree
Tree removal is a daunting task that requires expertise and experience.
Removing a simple and small tree can be easy, but you need to play safe for the bigger ones. Without having the experience and proper equipment, you may not be safe and even get the confidence to remove the tree.
You need a licensed professional from any insured tree removal company to do the needful.
DIY or Call a professional?
Of course, calling a professional for tree cutting or removal is always a safer choice. They have the experience, expertise and training.
Also, these professionals are insured, which means your property is covered for any damages. Call professionals like Magic Construction Minnesota for more.